
Hi all!
Today I am sharing a new series on this blog titled: My Makeup Journey. I can confidently say, I have never truly understood how to apply my makeup. In the recent months, I decided it was time to learn. I went down the rabbit-hole of TikTok beauty tutorials and to my utter amazement, I realised I had been doing SO many things wrong, for many years. I’m not even close to being an expert now, but I am certainly wiser than I was before. There’s no better place to start than with face preparation. Without further ado, let’s get into it!
PART 1: FACE PREPARATION
SKIN TYPE
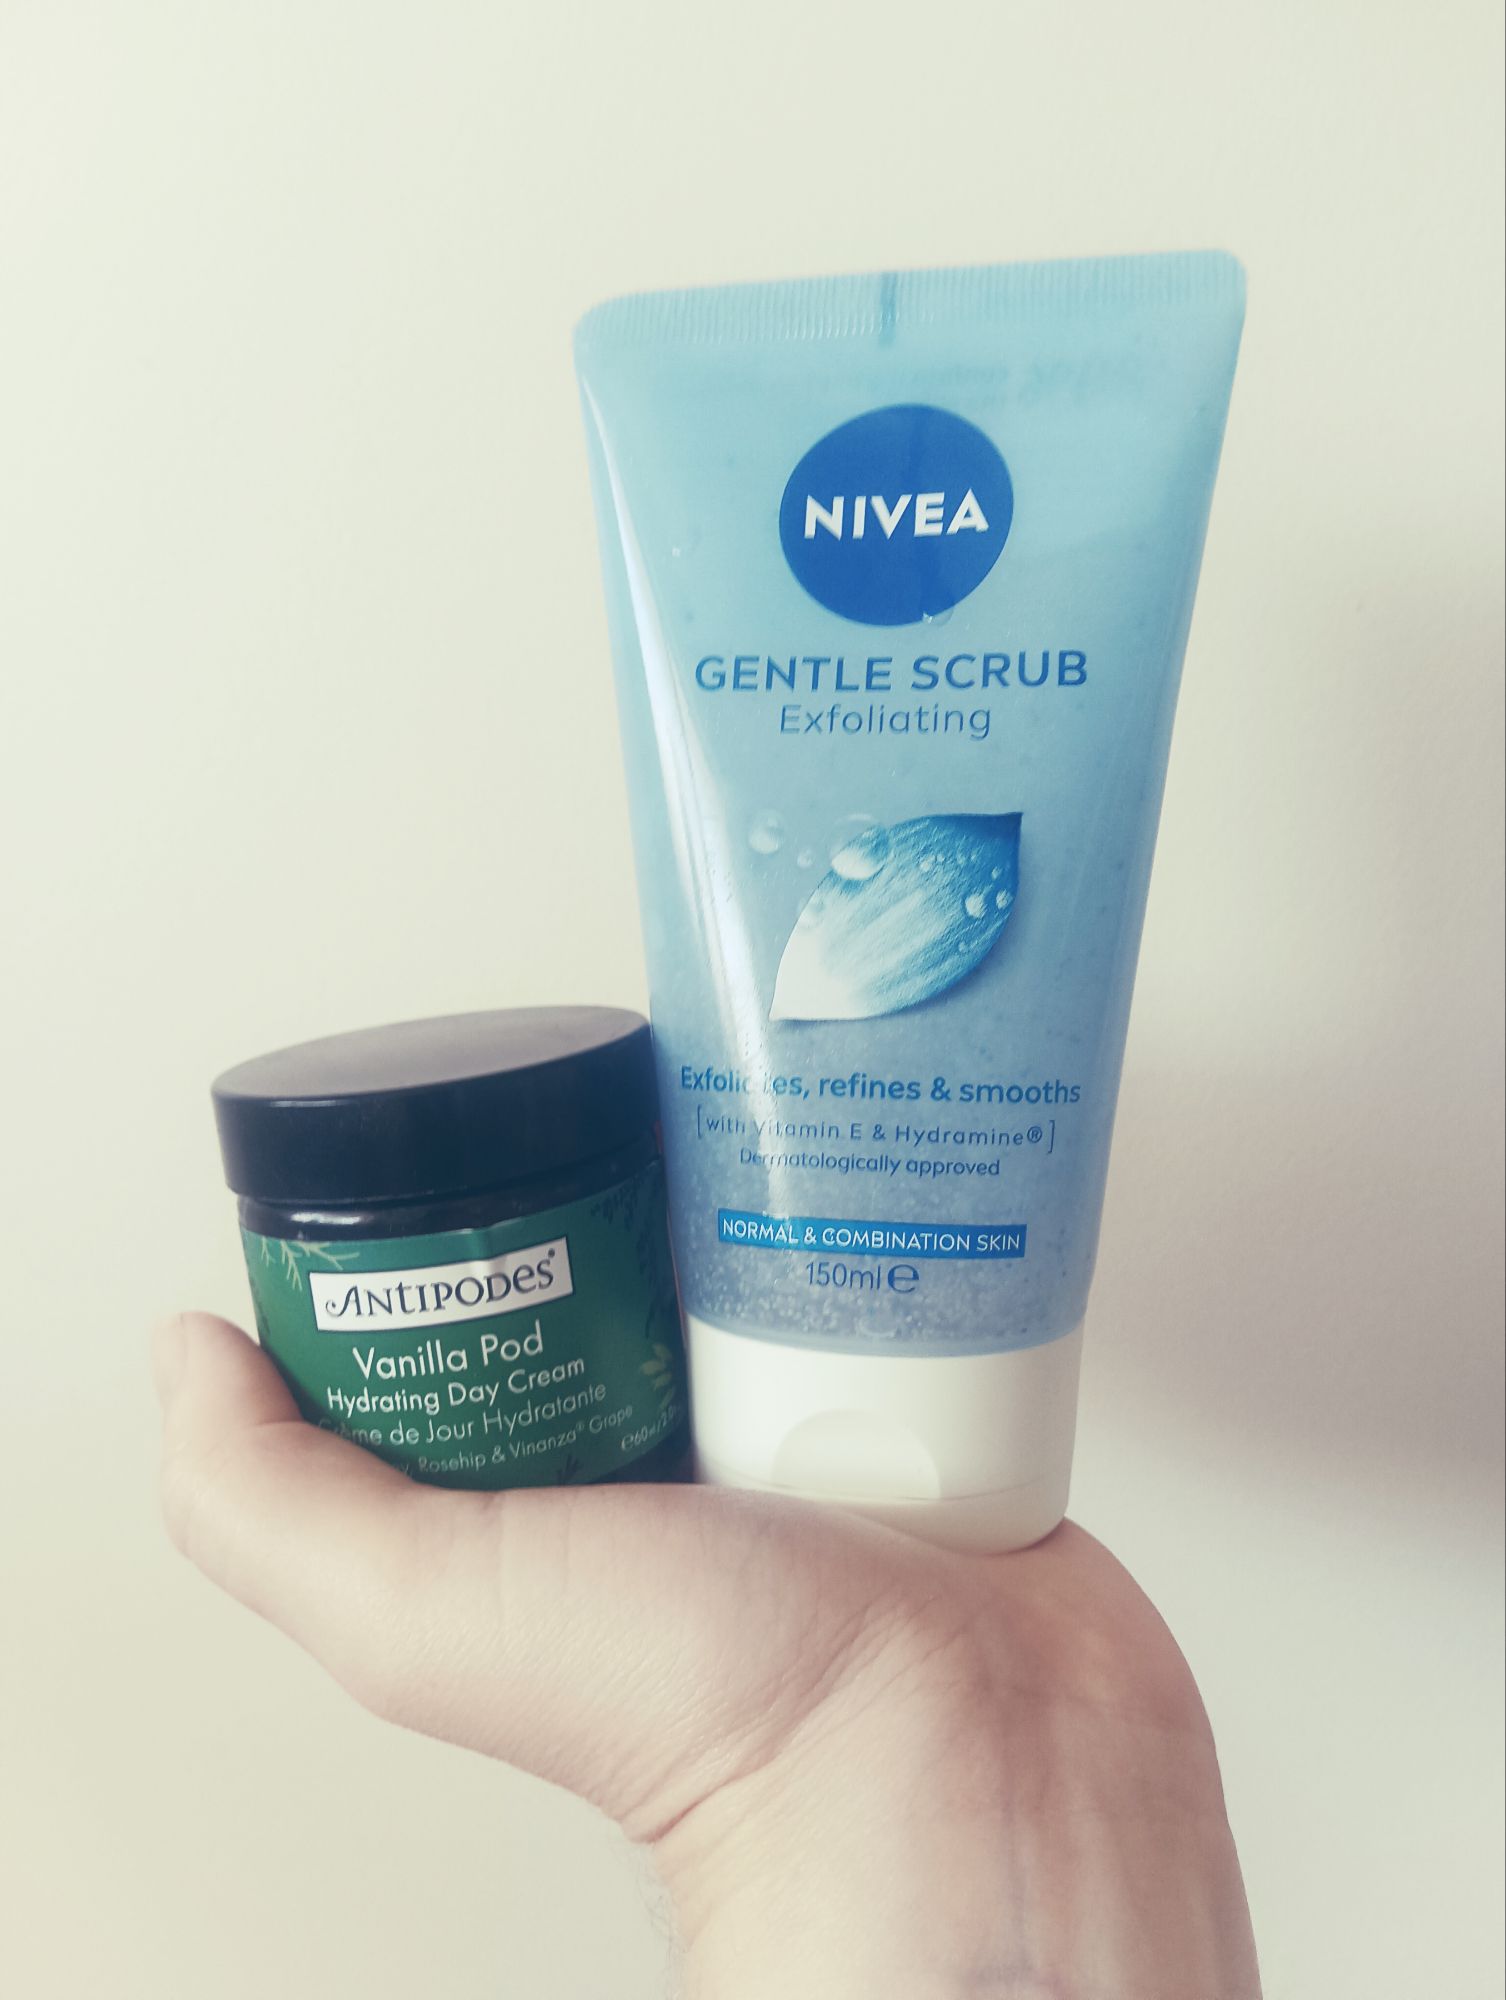
For some reason, I had always believed I had oily skin, when actually, I have very dry skin. For this reason, before applying any makeup, I need to moisturise my face. It must provide hydration, otherwise the application won’t be smooth. I use this hydrating cream from Antipodes. I also exfoliate the dry dead skin cells off my face three times a week with this exfoliating scrub from Nivea.
It’s important to identify if you have dry, oily or combination skin first. This will help you pick the right face-prep products and foundation. You can Google what works for what type.
REMOVING PEACH FUZZ
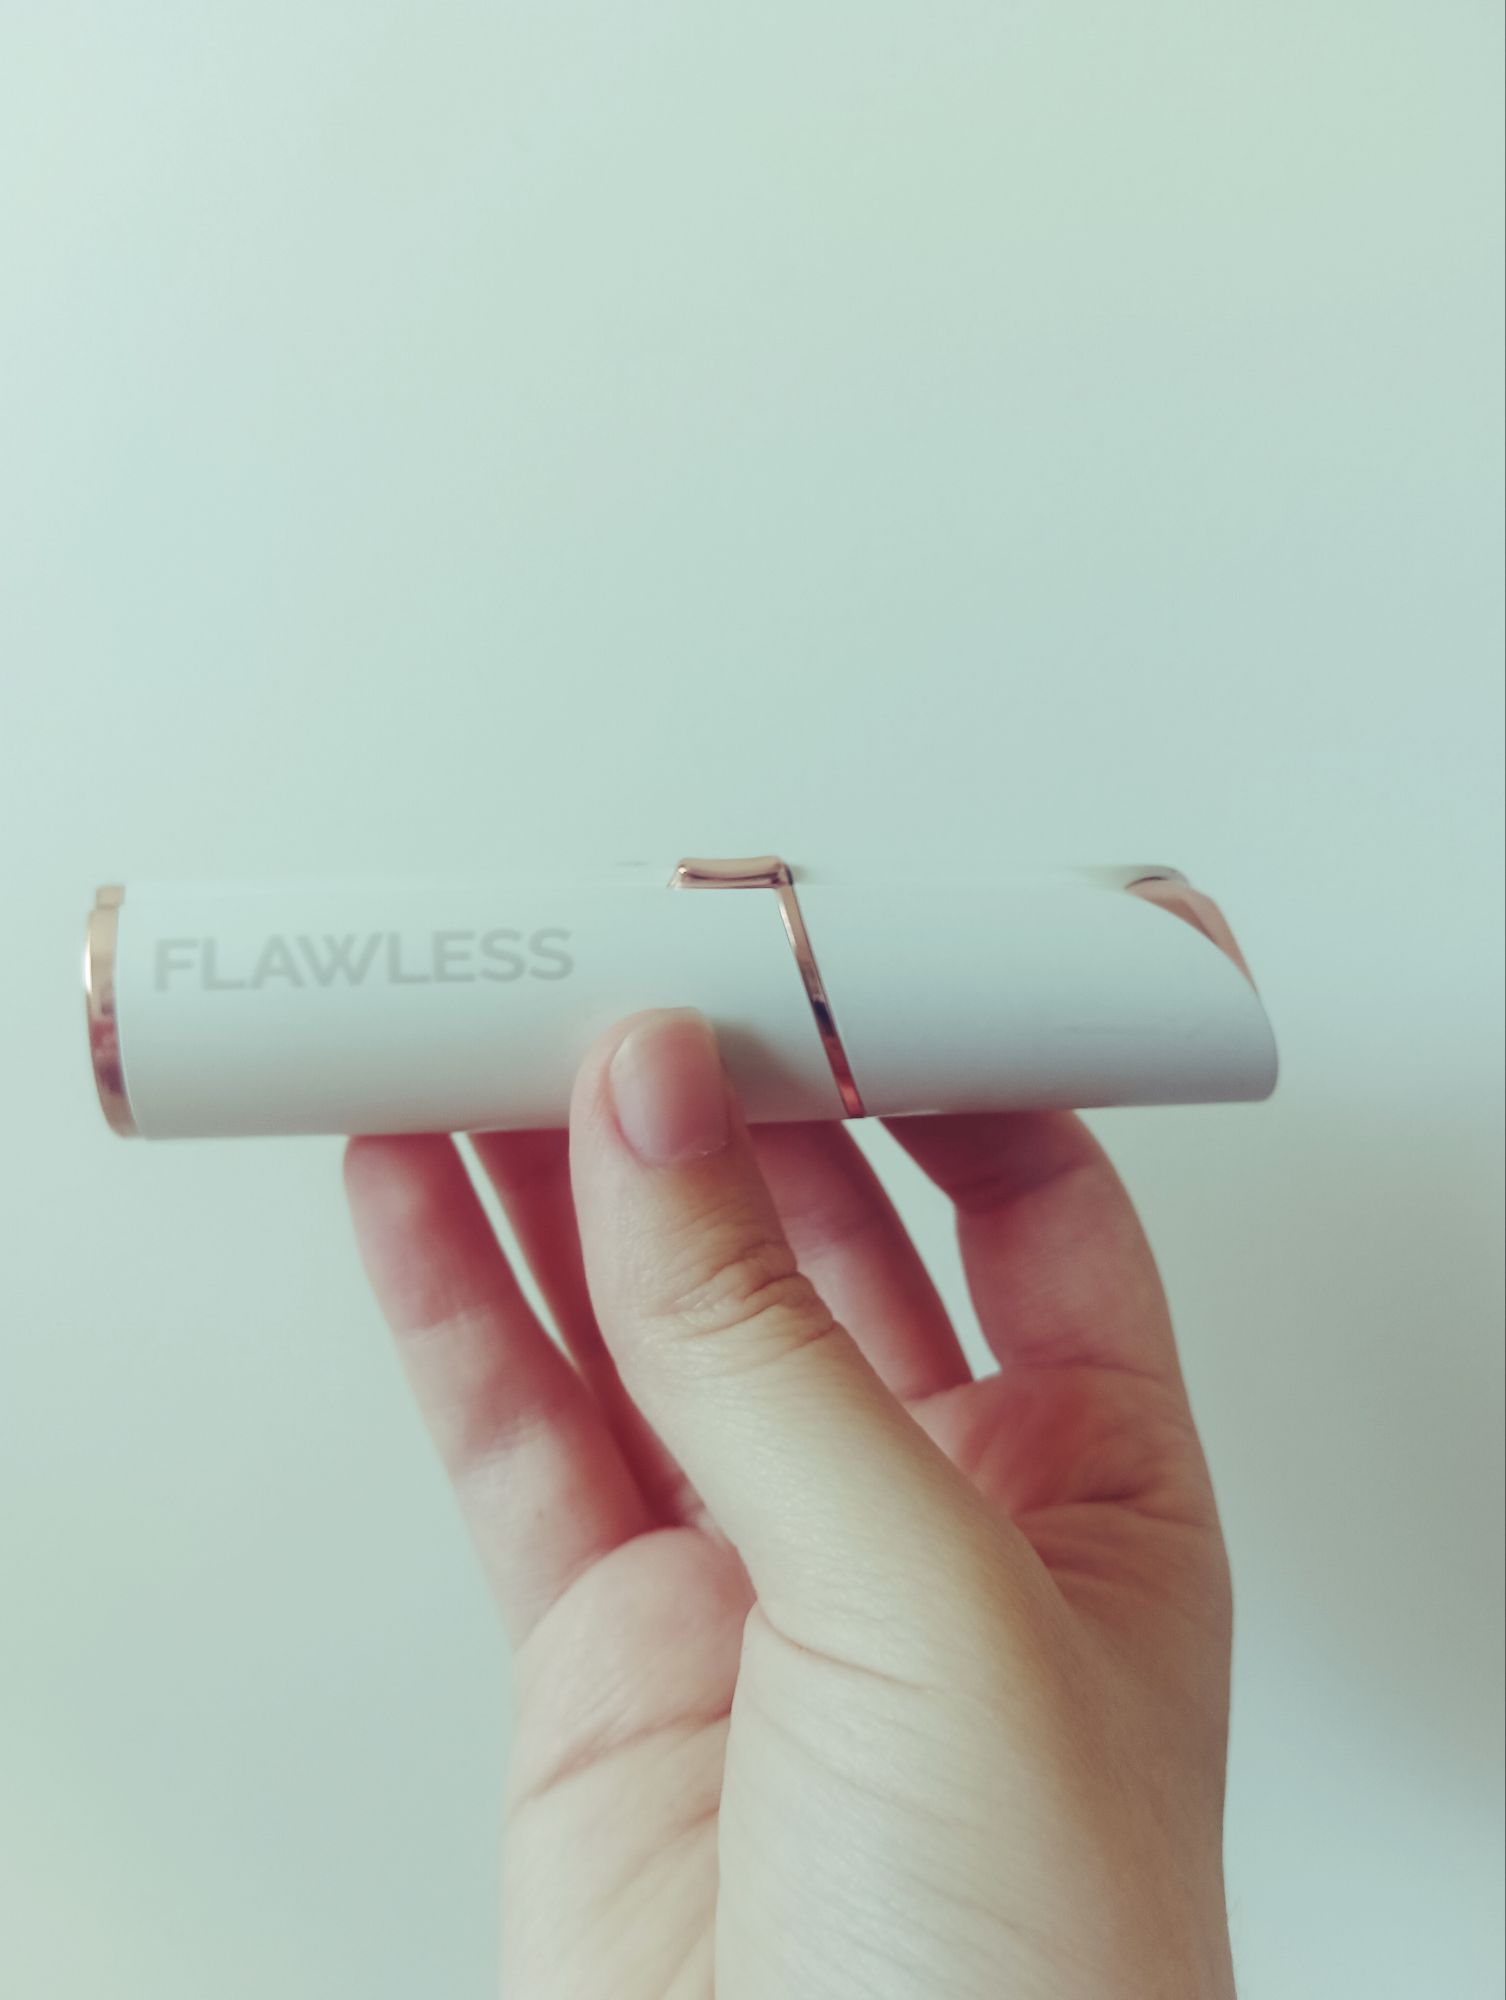
The next step to prepping my face, is removing any peach fuzz. A makeup artist on TikTok said applying foundation with peach fuzz on your face, is like putting paint on carpet. It won’t go on as smoothly. I bought my battery operated peach fuzz removal wand from Coles. If this option doesn’t work, you can buy disposable peach fuzz razors from your local chemist.
Please don’t believe the myths. The hair does not grow back thicker and fuller. It grows back the same as before.
USING THE PEACH FUZZ REMOVAL WAND
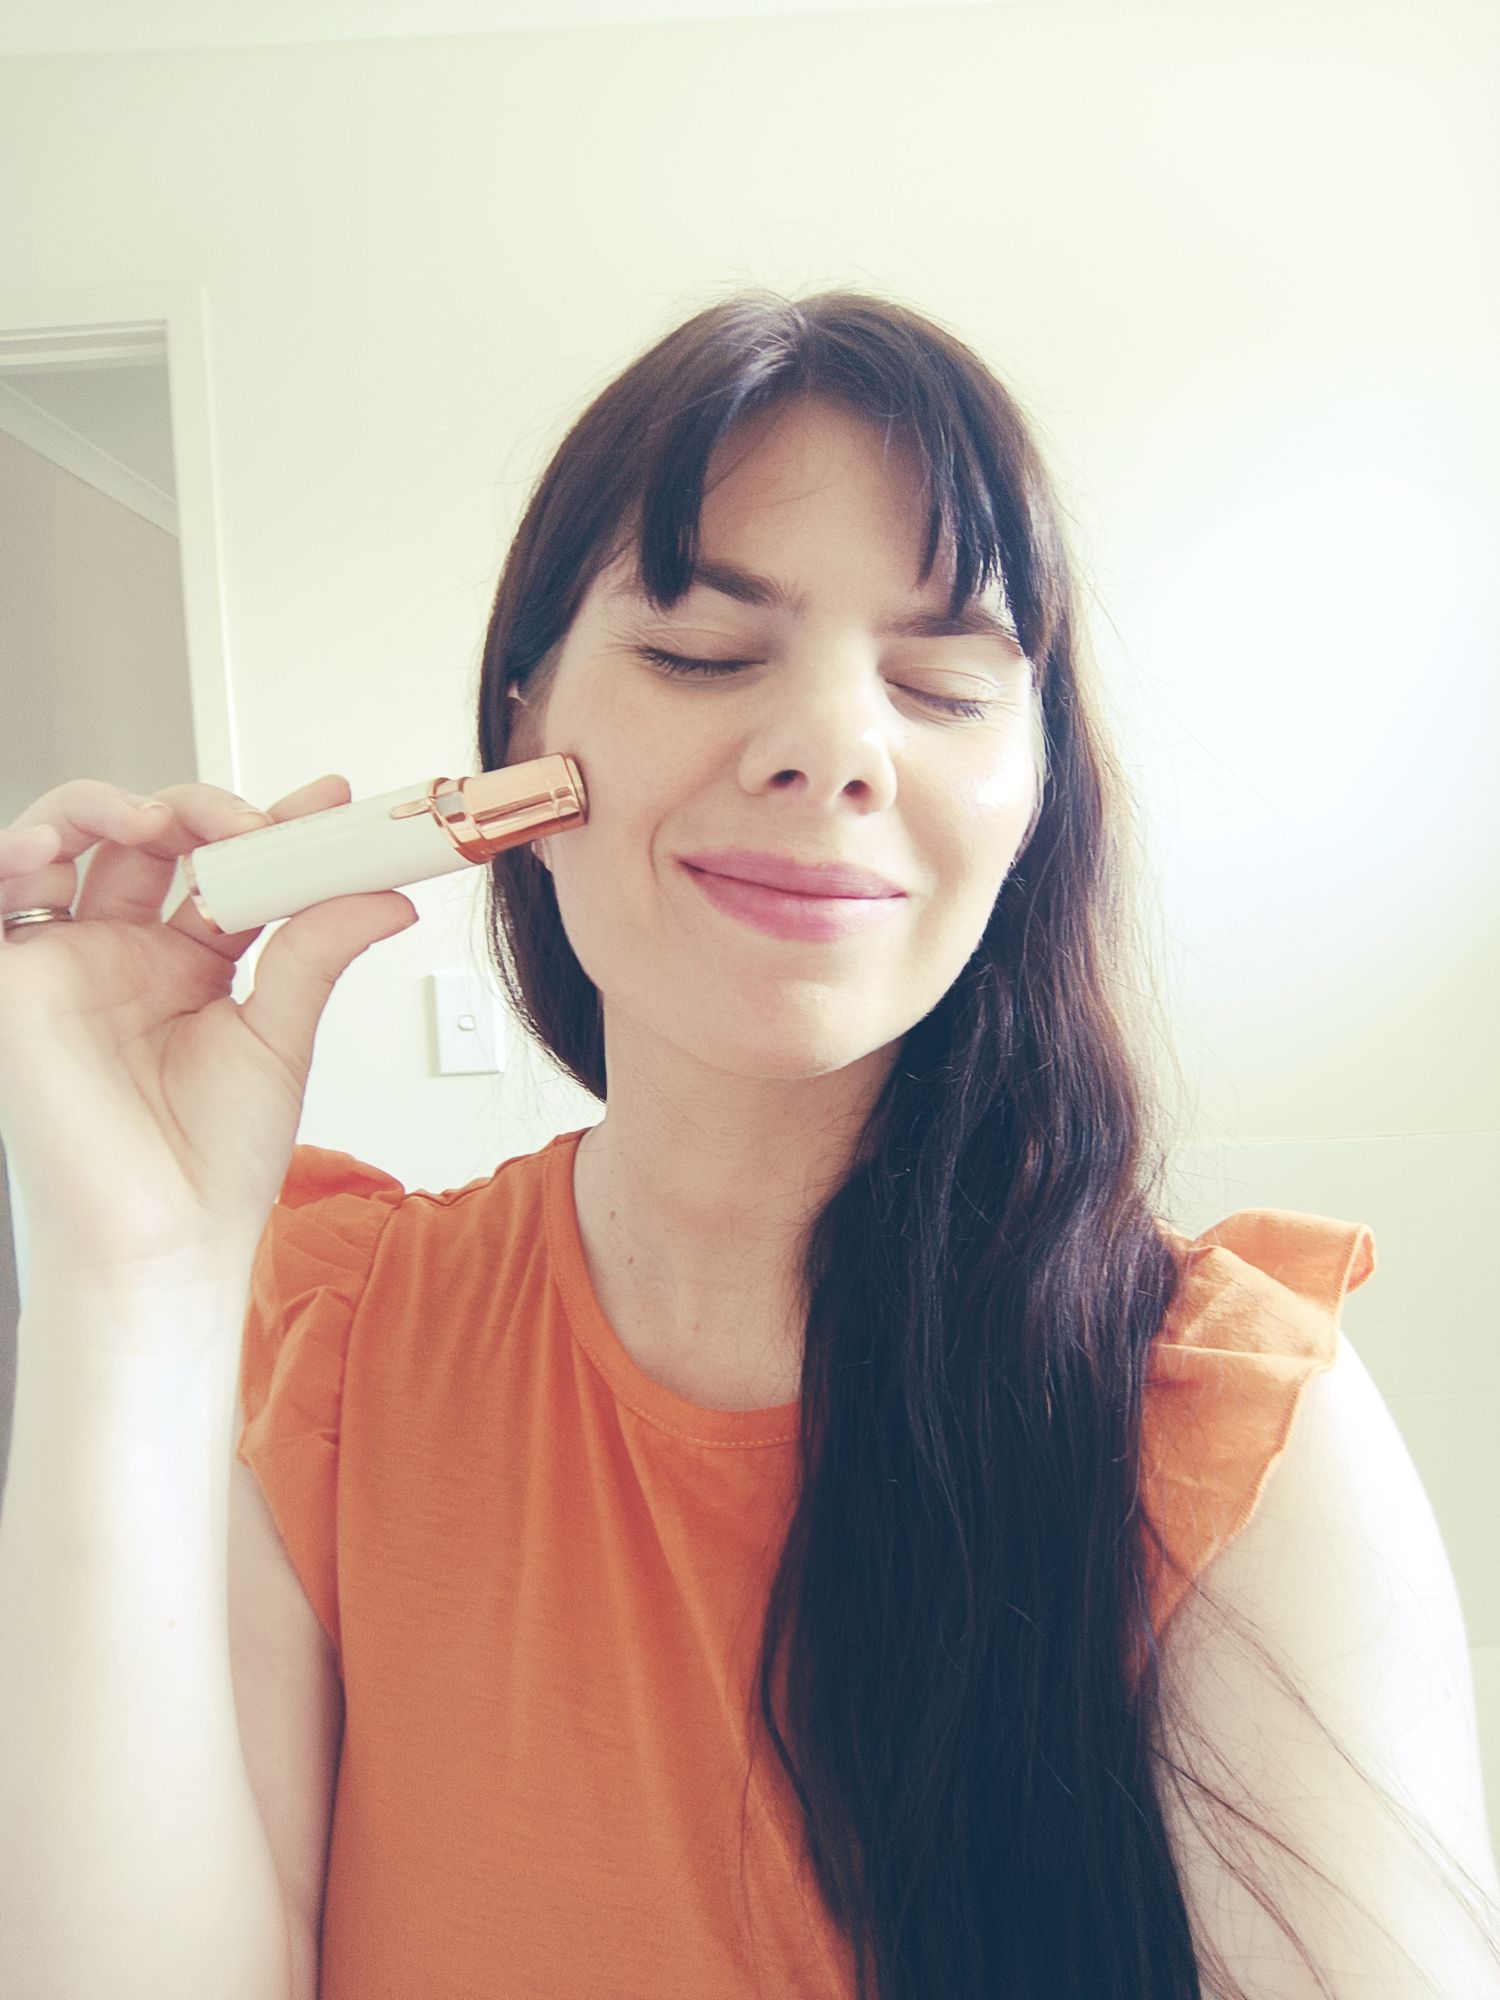
To use the wand, simply rub it in circular motions on your face. It’s very easy to use and clean. It does not hurt, provided you are gentle.
This product is such a game-changer for us hairy ladies! You don’t realise how much peach fuzz you actually have, until you start removing it.
FINAL WORDS
Once you’ve moisturised, exfoliated the dry skin cells and removed the peach fuzz (optional), it’s time to apply your primer and then foundation. You won’t believe how smooth it will glide on, if you prep the face first.
Remember, this might not apply to someone with oily or combination skin. This is for the dry skin girlies, like myself!
I’ll be back soon for Part 2: Primer and Foundation. I realise I’m not a makeup artist, nor a professional. Everyone does things differently. This is just what works for me and my skin type.

Thanks for reading! Peace & Love xoxo


Leave a Reply