Hi all!
Today I am discussing Brows. This is a series on my blog titled: My Makeup Journey. Click here to follow along. I want to share everything I have learned, so without further ado, let’s get into it!
PART 6: BROWS
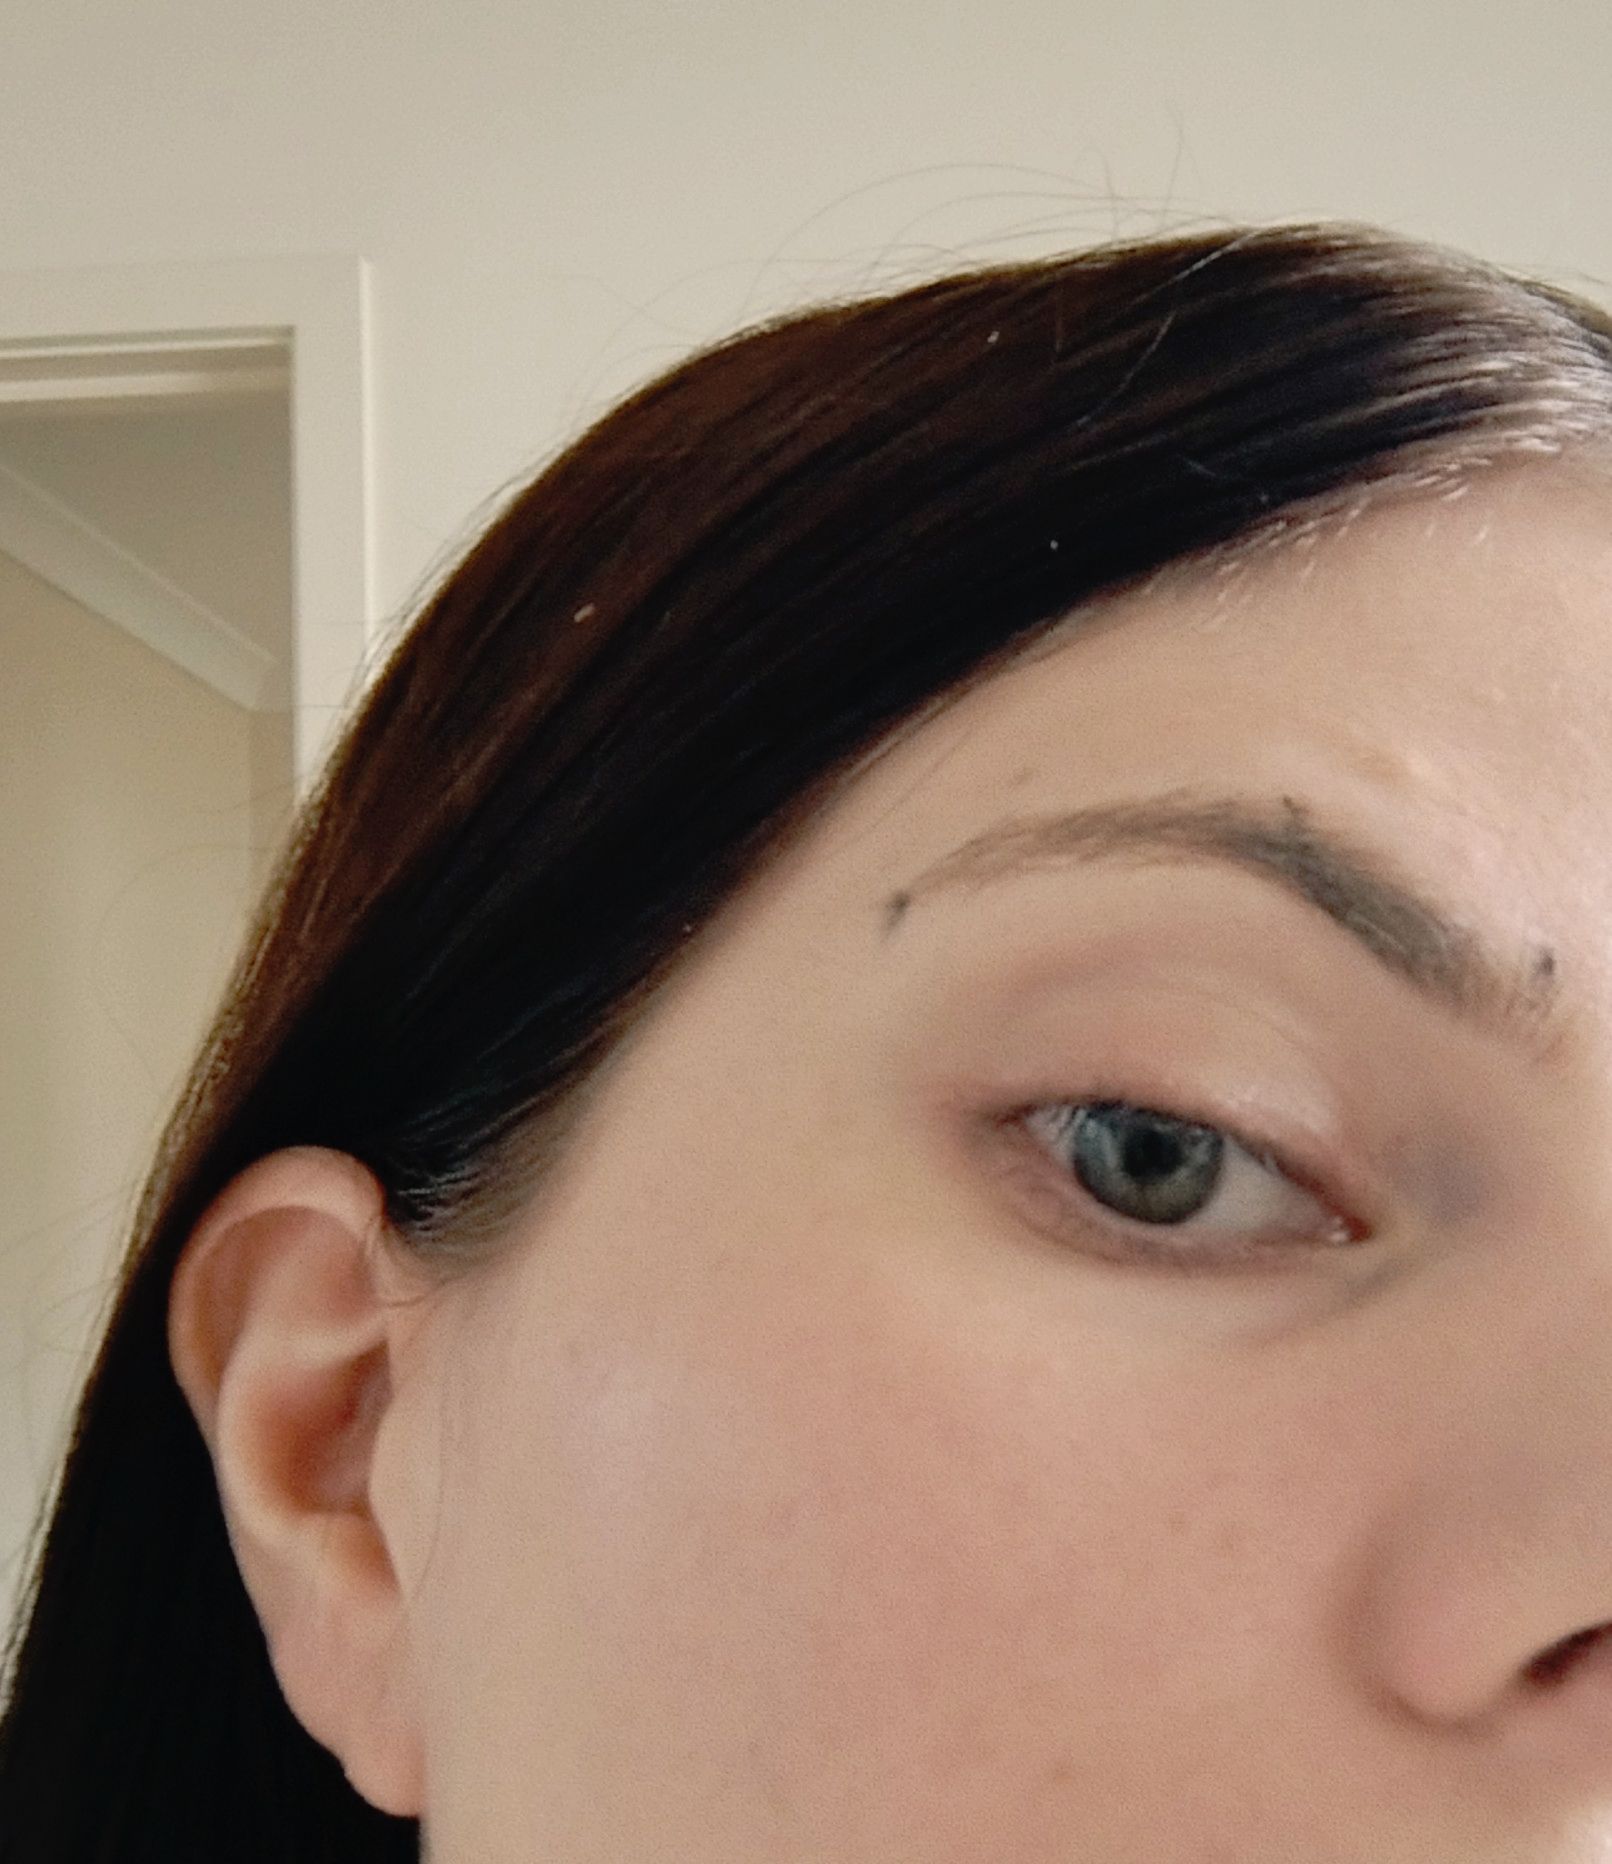
Here are my brows before doing a single thing to them.

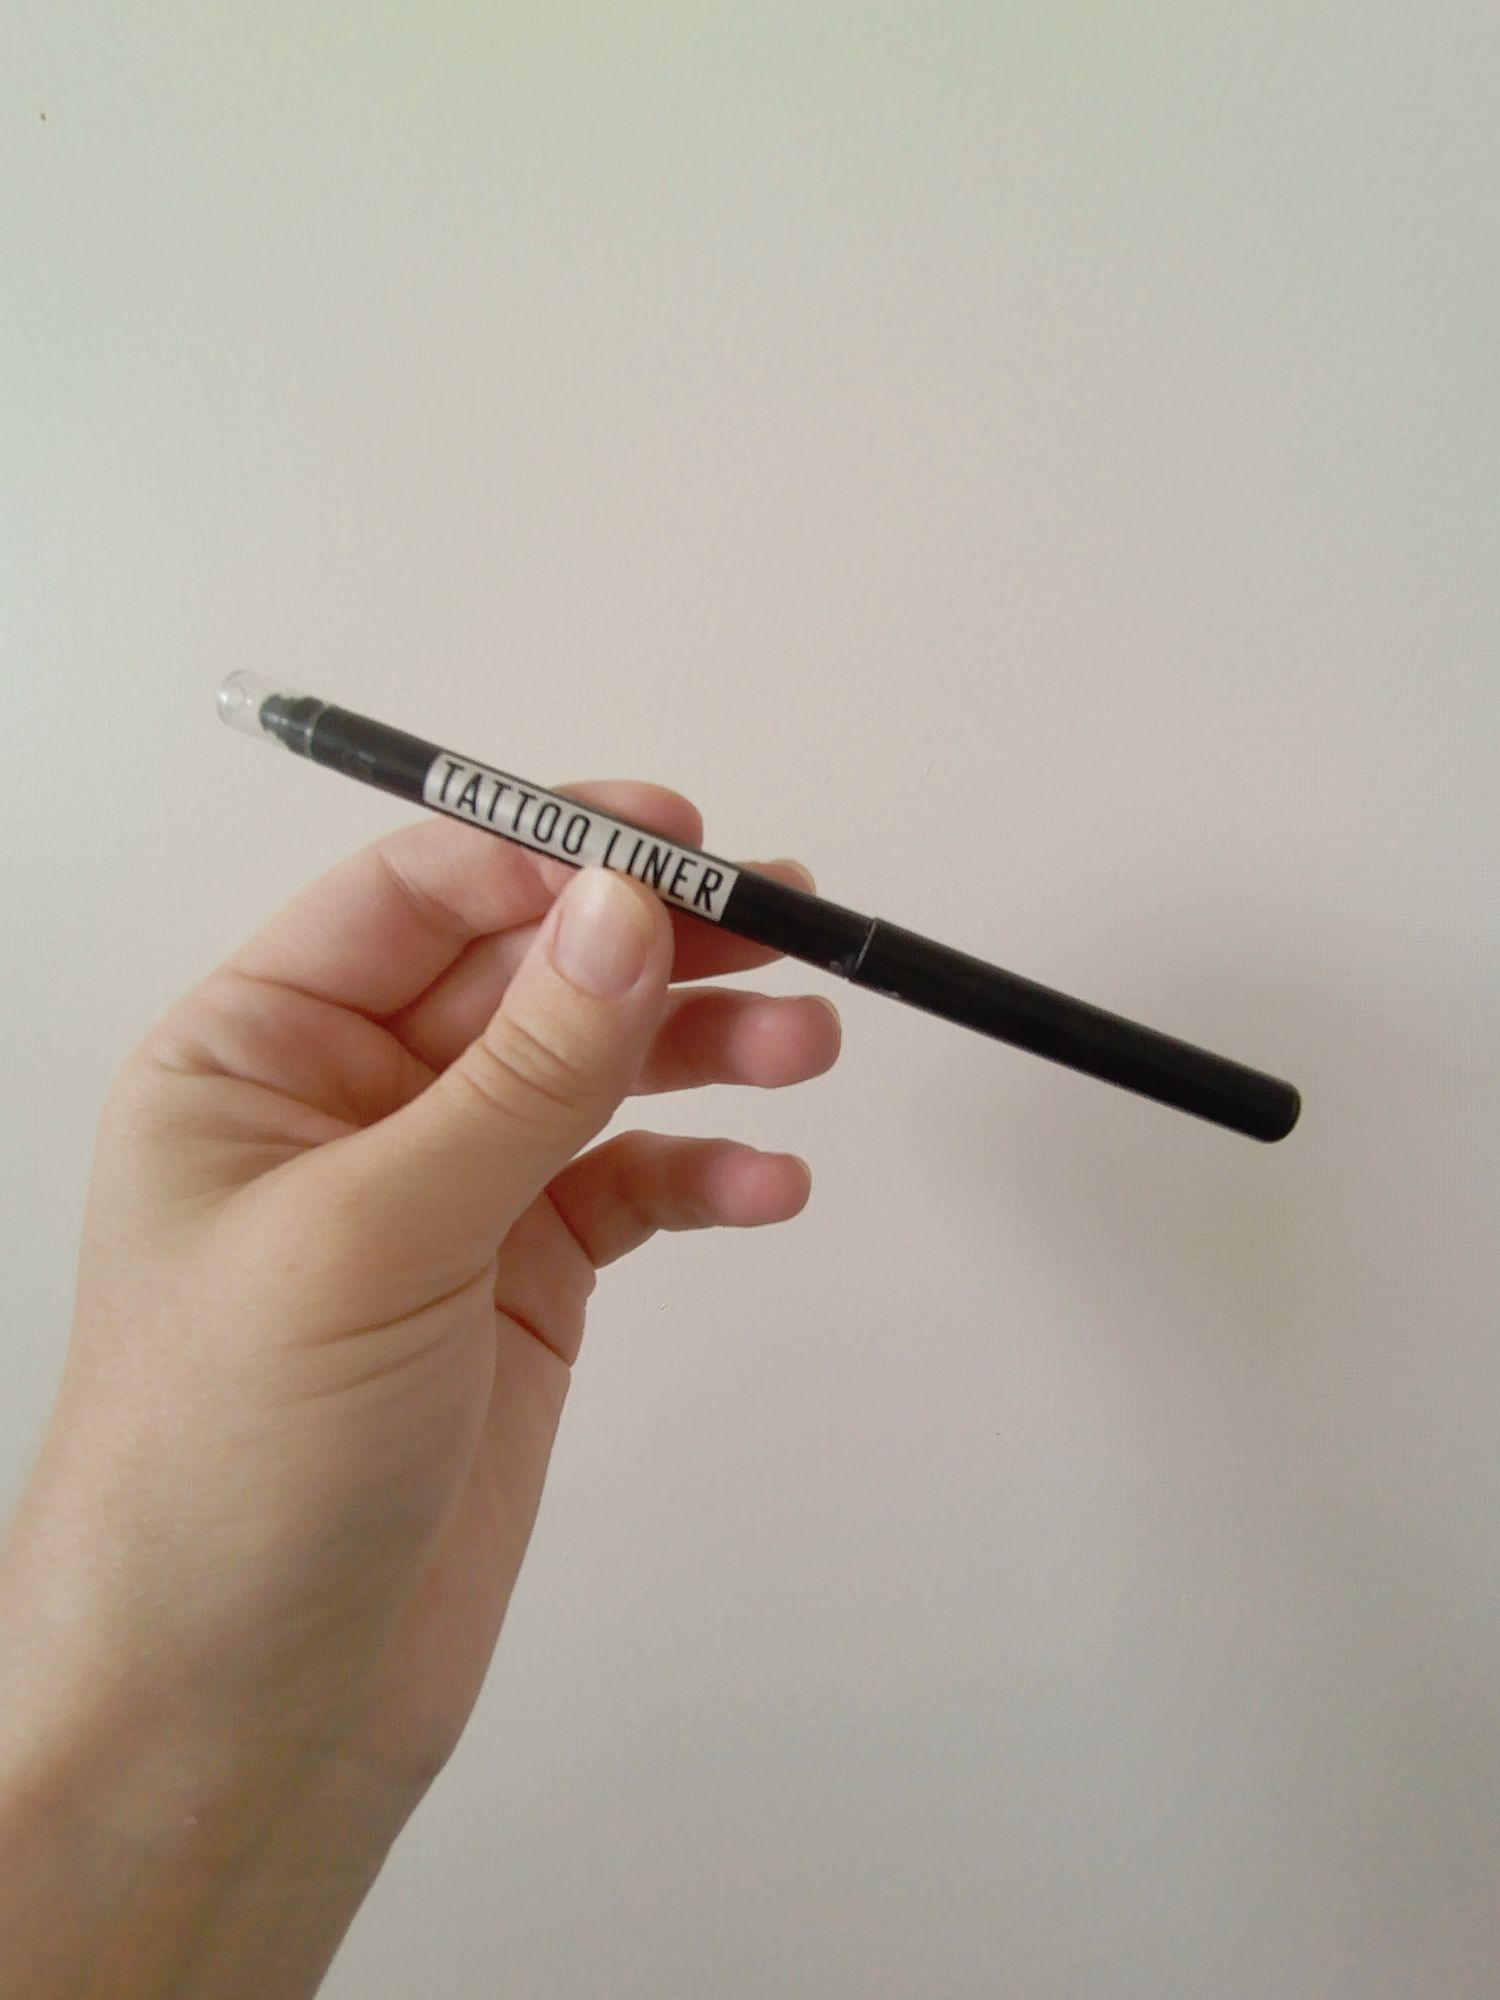
The first thing I do is pick up my Tattoo Liner from Maybelline in Black. If you have fairer features, you might want to invest in a brown shade. Black can be quite prominent (as seen below). You can also use a regular pencil or pomade pot – whatever works.
Using your eyebrow liner of choice, make three distinct marks (as shown below). There should be one at the very top of your eyebrow – use the side of your nose to line up the marker. The second mark should go just above the middle of your eyelid – right before the brow starts to curve downward. The third mark will go at the very end of the eyebrow.
You then want to use flicking motions with the marker to fill out the eyebrow. Use those three dots to guide you. As you can see, it looks fuller and more prominent. Repeat the same process for the other eye. It’s not perfect but you get the point.
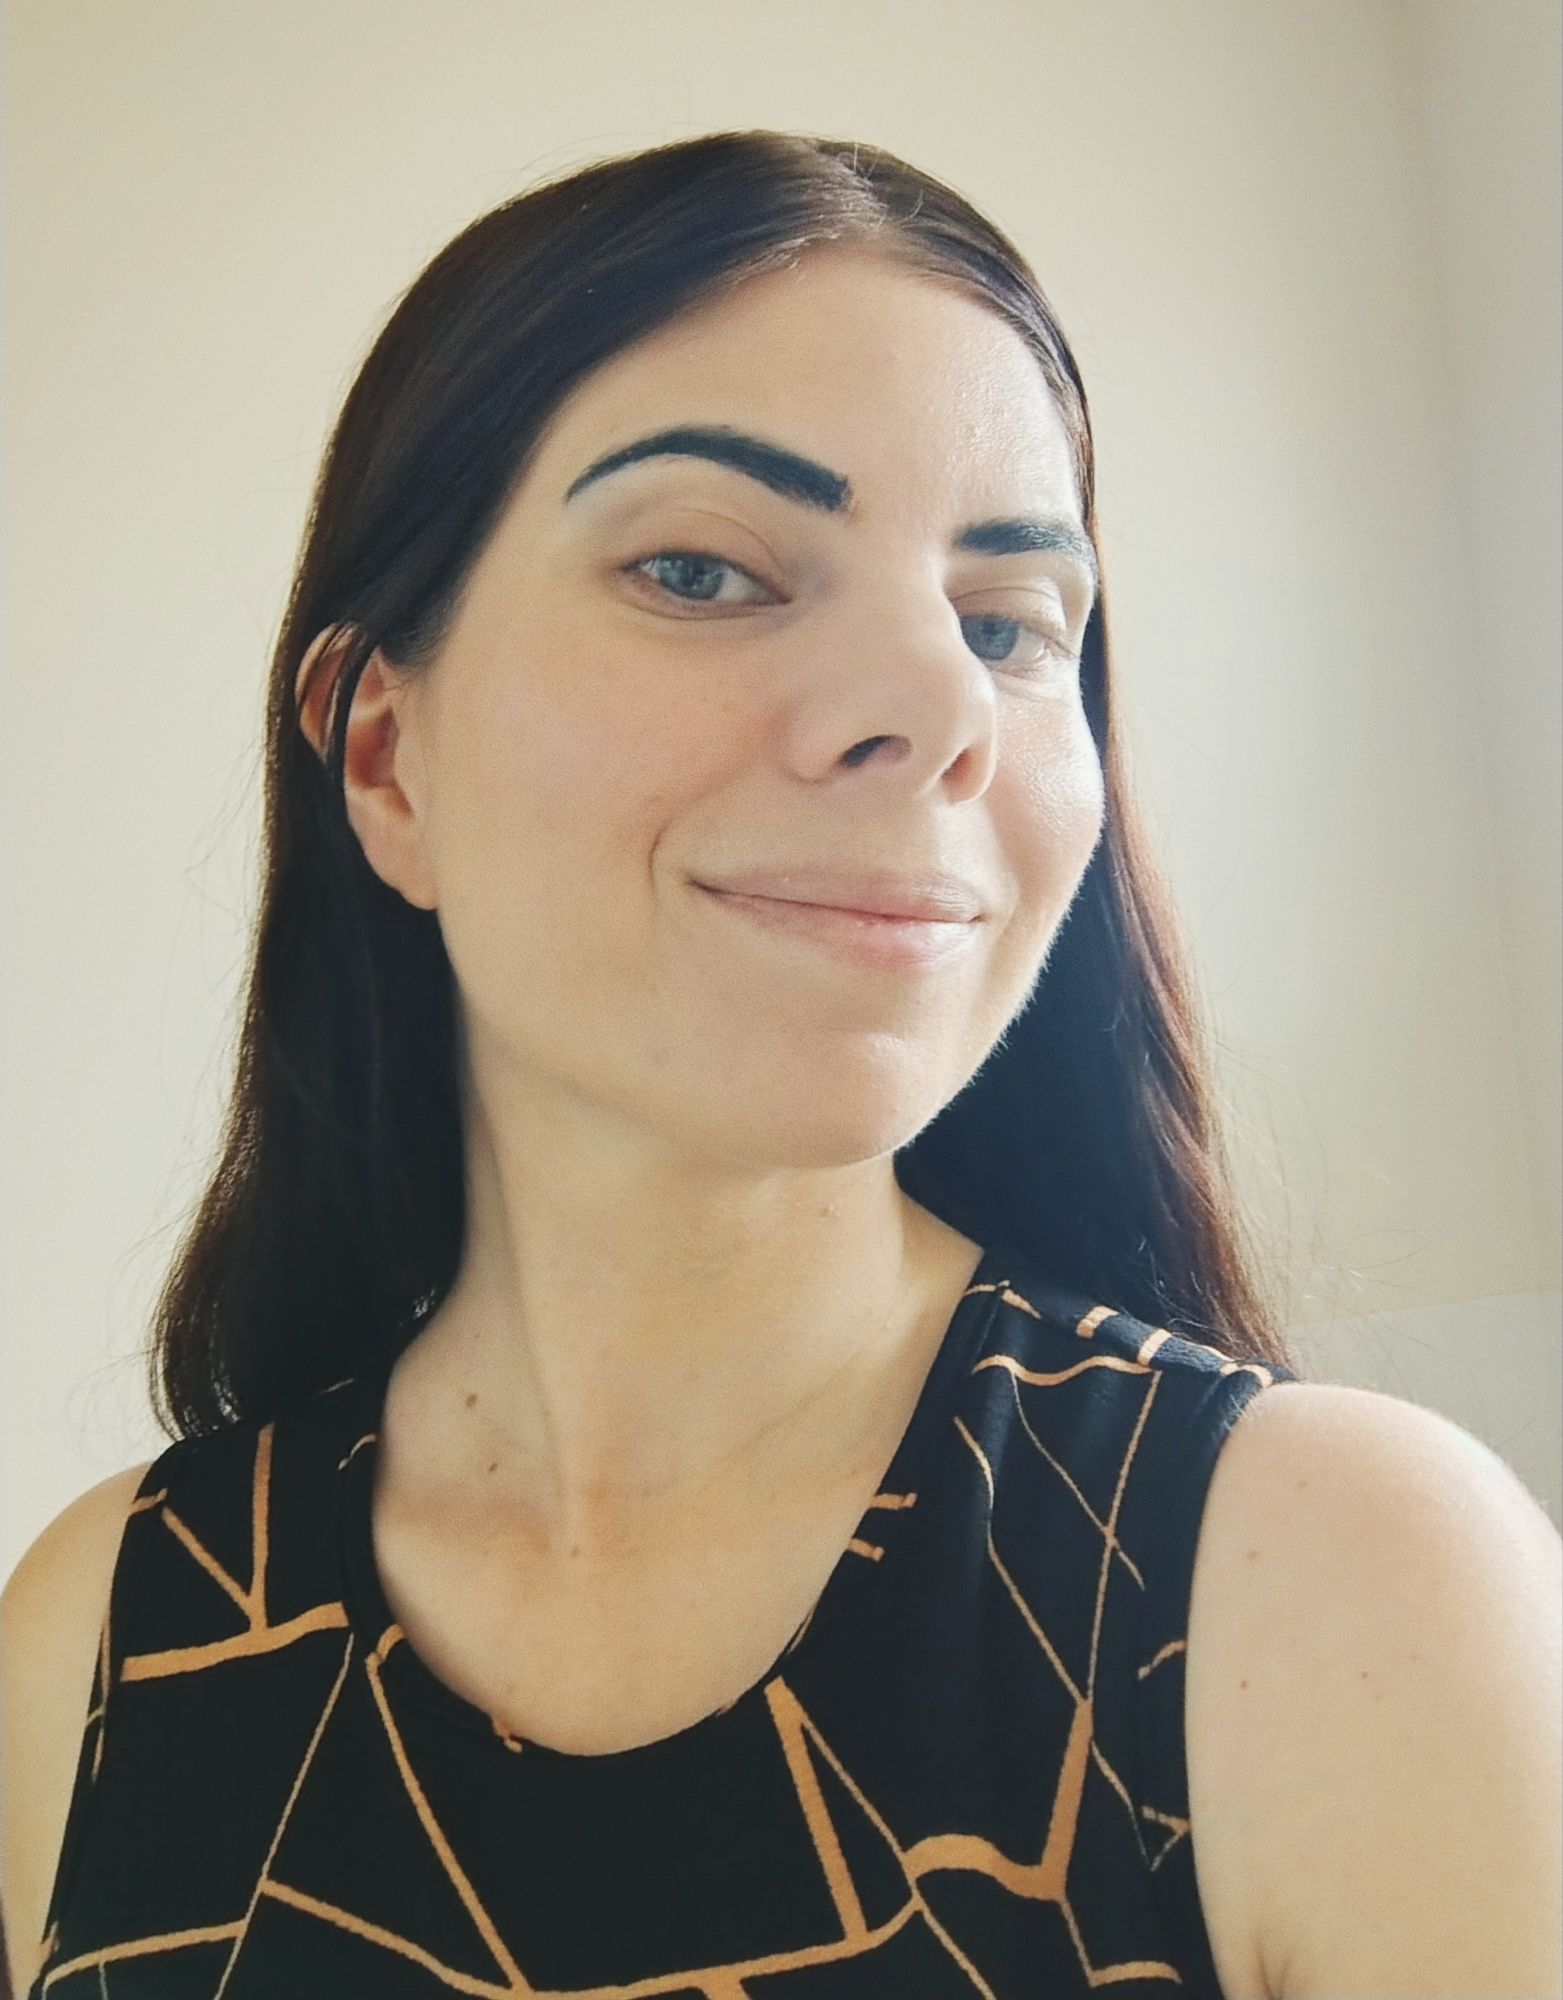
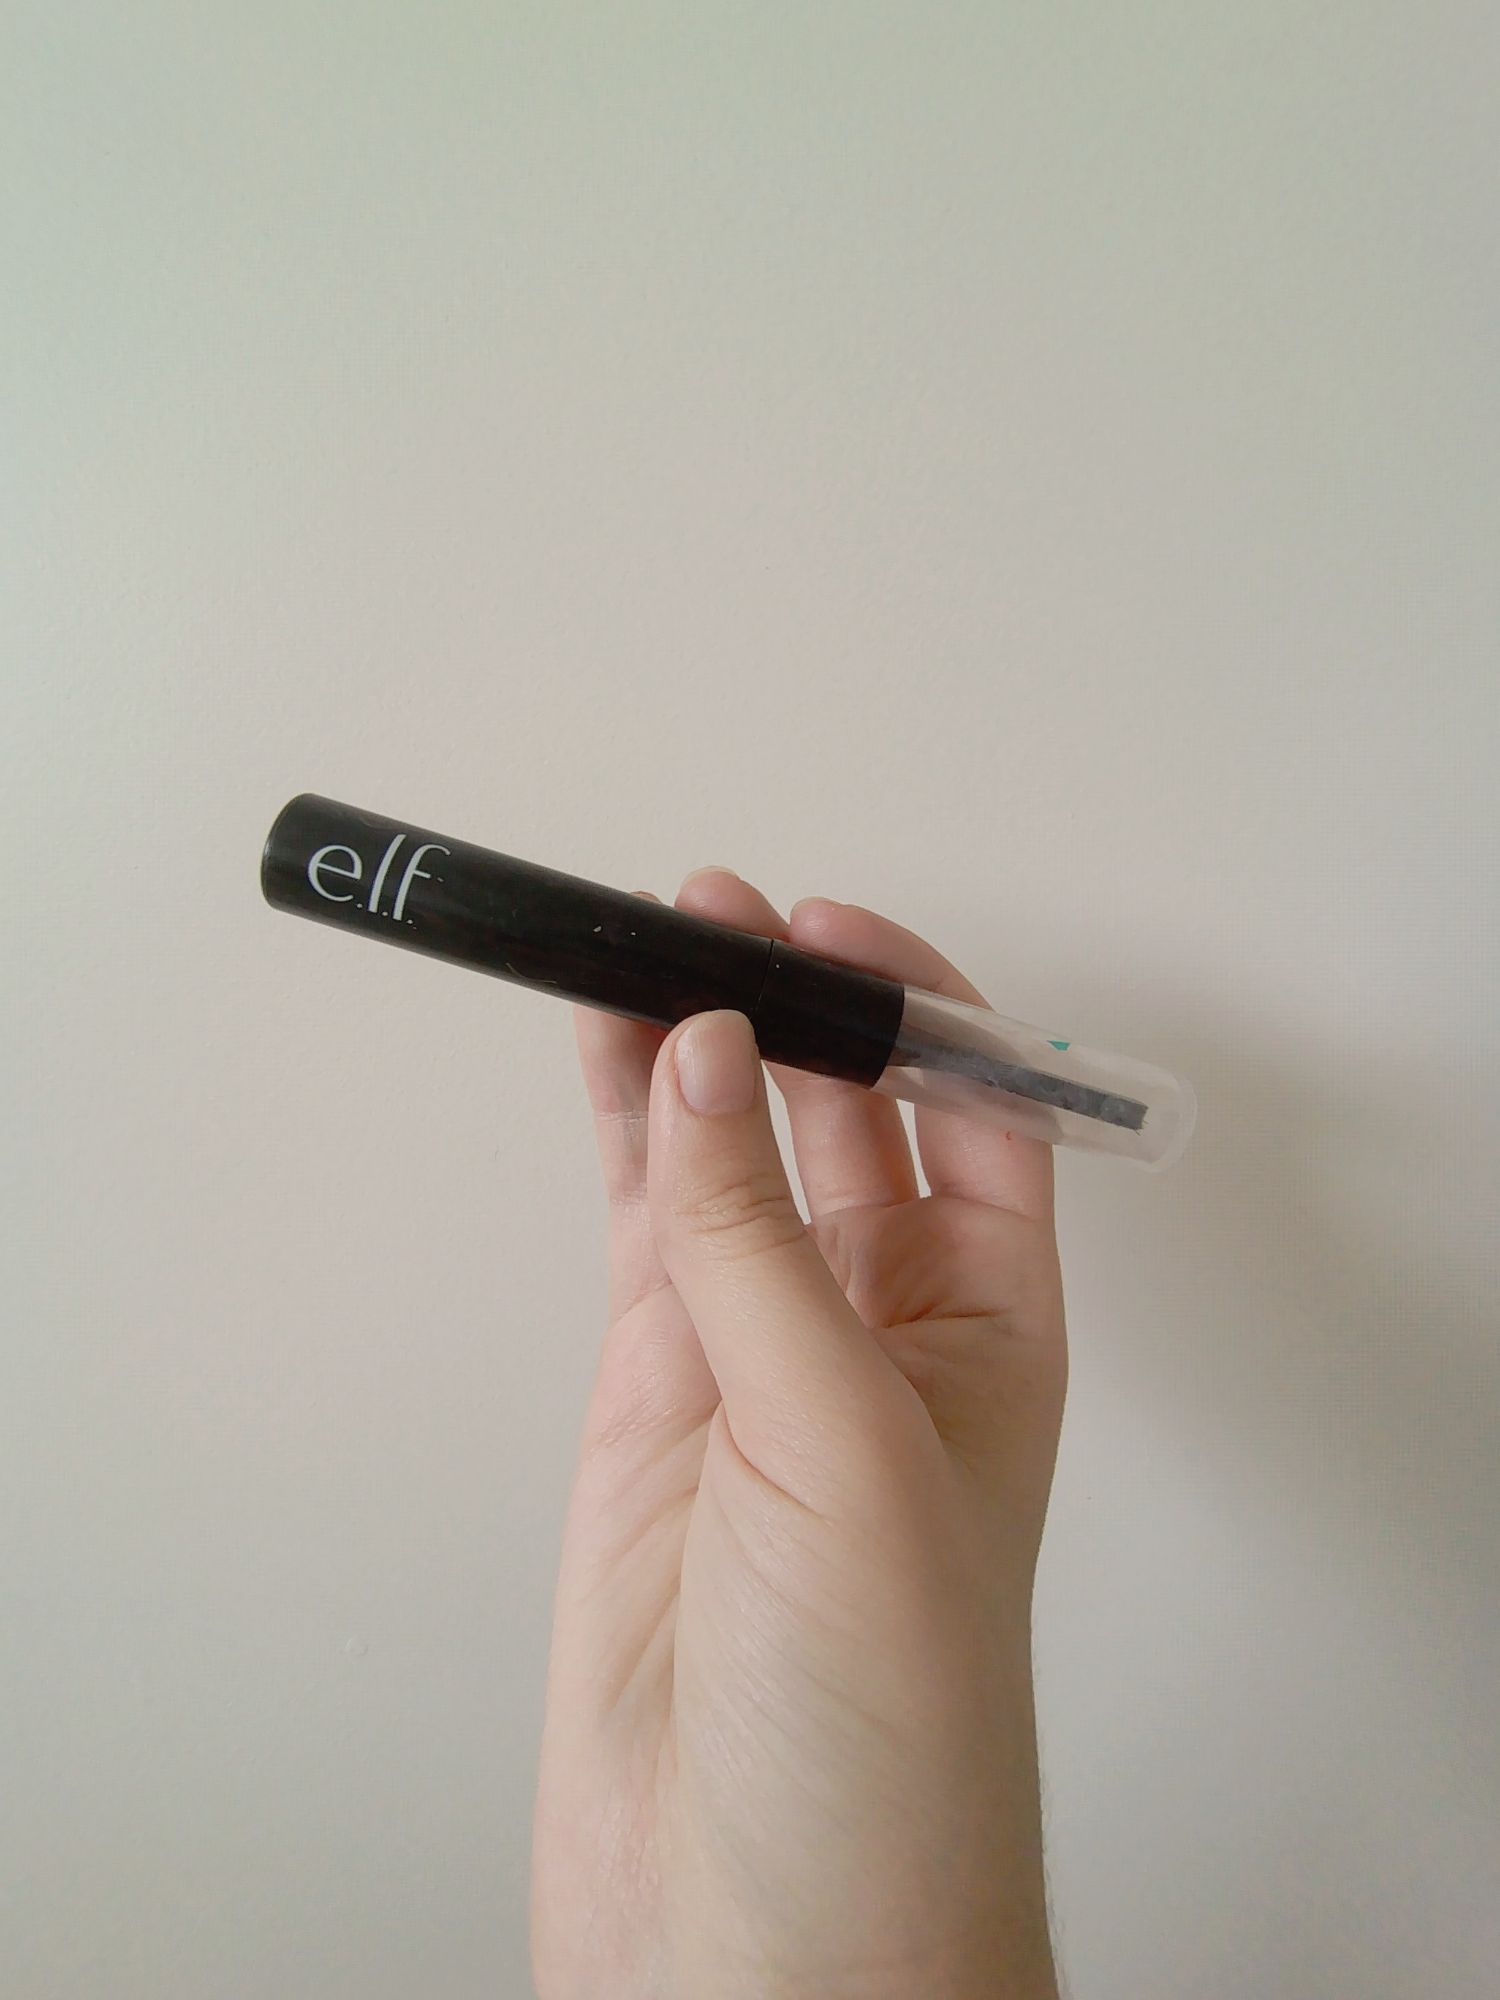
Finally, if you feel so inclined, you can brush your eyebrows with some gel. I use the one from e.l.f. If you prefer more natural looking brows, skip the marker and brush the hairs upward with the gel, giving them a feathery finish.
I’ll be back soon for Part 7. I realise I’m not a makeup artist, nor a professional. This is just what is working for me and my skin type.
Thanks for reading! Peace & Love xoxo


Leave a Reply